


Bring data from CRM
to your ERP or
proprietary systems
the Hubspot
workflow Webhooks
About HubSpot
HubSpot is a CRM platform that connects everything scaling companies need to deliver a best-in-class customer experience in one place. Supports companies to attract visitors, convert leads, and close & retain customers. It includes essential CRM functionality like sales forecasting, email marketing, and contact and lead management.
Any data integration processes between HubSpot and ERP or proprietary systems are easy to implement, for it is intuitive to use all its five core products. Relying on being a user-friendly platform and having a cost-efficient subscription, HubSpot allows you to focus on your activity by staying on top of your deals, tasks, meetings, contracts, and calls.
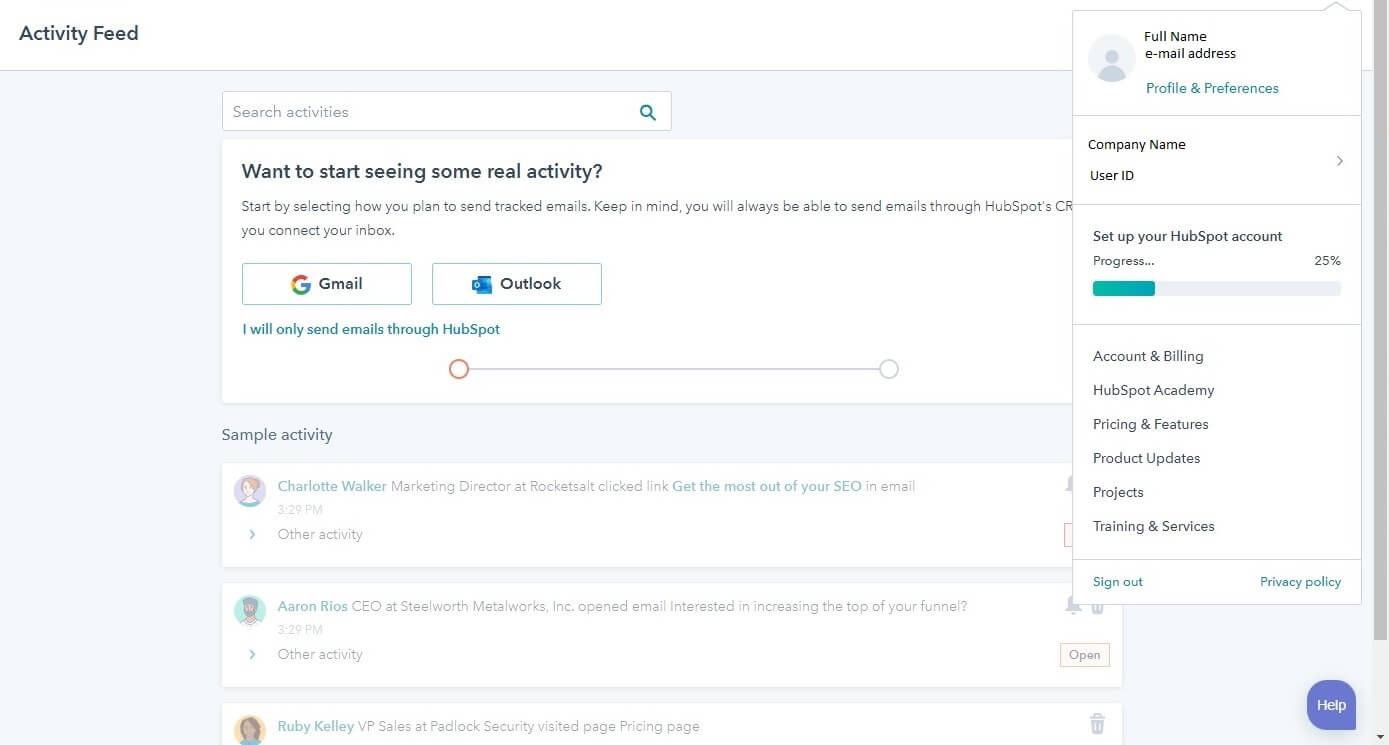
To use it, you need to create an account. Following the steps mentioned on the platform, you will have your account ready in less than 3 minutes.
You can connect/ integrate your ERP or proprietary system to the HubSpot platform using the Webhooks tool.
What is a Webhook?
There are different definitions of it. A general one is that a Webhook is a way for one application to deliver data to another application in real time. It is an effective communication method for online applications that lets you send requests to an arbitrary URL whenever certain events occur on that website.
Webhooks are sometimes referred to as “reverse API” because the application sending the data initiates the communication rather than the one receiving it. They are user-defined HTTP callbacks (or small code snippets linked to a web application) from a platform to an external service, usually triggered when a pre-defined event occurs. Webhooks receive calls only when those applications have some dataset updates, this being one of the characteristics that differentiate it from API.
Usually, they are used for sending new email list subscriptions and unsubscriptions to a CRM system, automatically updating software when invoices are paid, or setting up any notification type considering what you are interested in.
Webhooks are an important integrating systems piece and can be implemented within HubSpot by using three options:
- Webhooks API
- Workflow Extensions
- Webhook action via bots/workflows
Webhook API
This option is available for all subscription plans on HubSpot. With it, you can create an application that helps you subscribe to various events occurring within any portal. Contact, Company, Deal creations, deletions, and property updates are included in the list of events. Webhook API helps you keep data in sync in CRM anytime a change occurs.
Workflow extension
This option is available in Contact based workflows and helps you create custom workflow actions that send data from HubSpot to a webhook URL.
Its scalability enables you to integrate it with other systems like CRMs, SMS providers, push notification providers, and collaboration tools. Being user-friendly, it has an intuitive workflow that you can set according to your needs. It is more efficient by providing you with only the data you need, saving you time in not overanalyzing and seeking it.

Webhook workflows
This option is available on an Operations Hub Professional subscription. It helps you set the way and conditions for your syncing data between HubSpot and your CRM system. You can use the templates already provided by HubSpot or create your own.
To use and create workflows that serve you, after logging in to your account, you can set up a connection to social media channels for which you need data input into your system and integrate it.
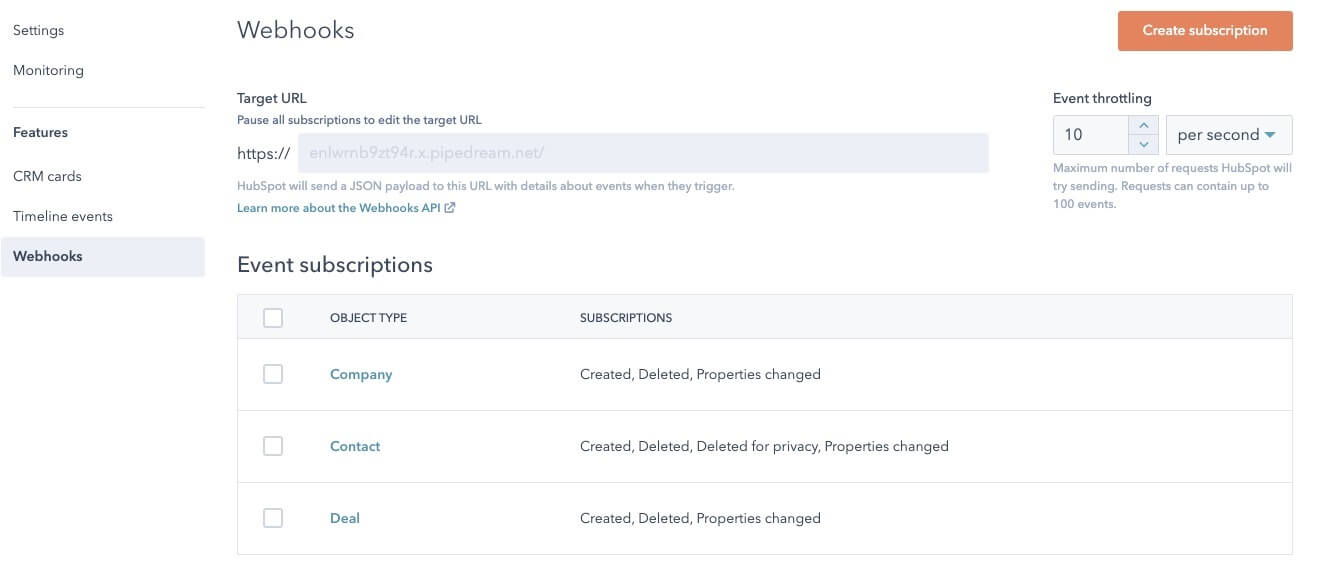
You can manage your URL and event throttling limit in your application configuration page in your developer account:
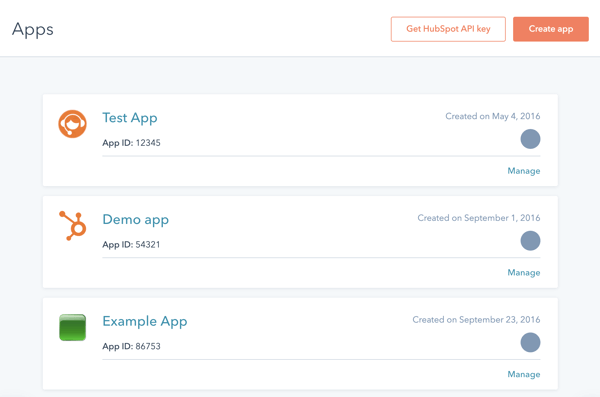
- In your developer account, navigate to your App dashboard.
- Click the name of the app to which you want to set up webhooks.
- In the left sidebar menu, navigate to Webhooks.
- In the Target URL field, enter the URL that HubSpot will make a POST request to when events trigger.
- Use the Event throttling setting to adjust the maximum number of events HubSpot will attempt to send.
- Click Save.
On your account, you can use templates already provided by HubSpot to receive the data you need or want to follow.
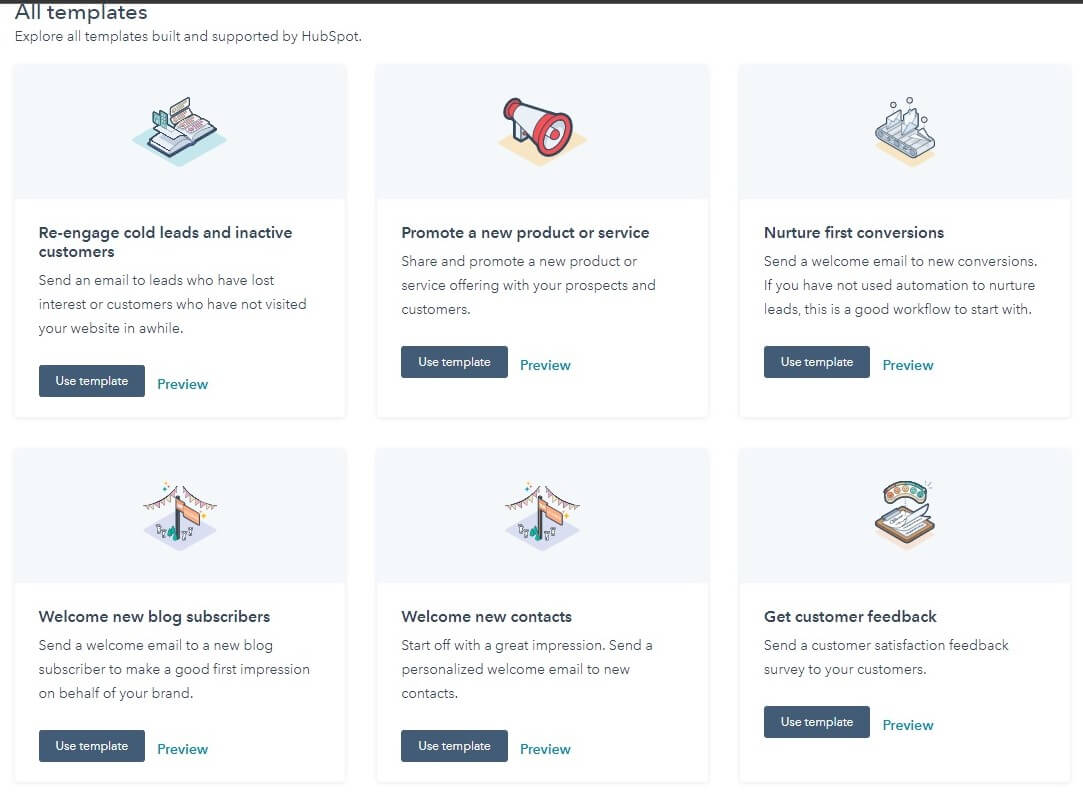
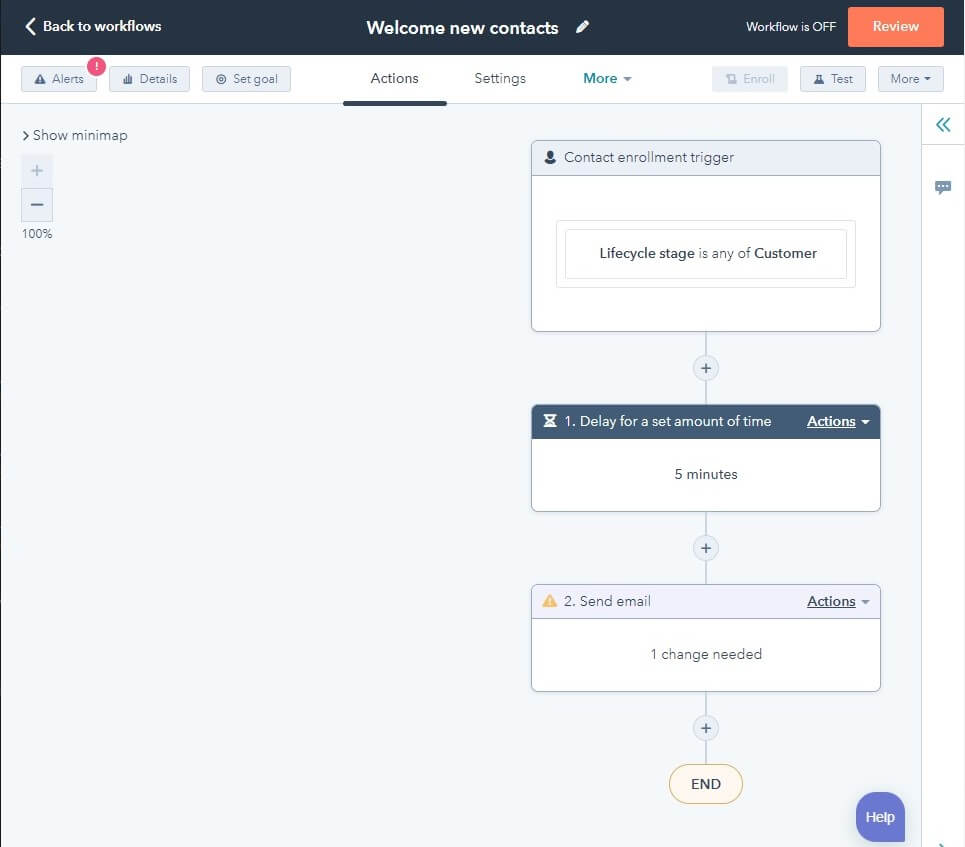
You can follow the next steps to set up a workflow:
- Select a template that serves your needs.
- Select the trigger for your workflow ? in the first box that appears, look for a small icon representing a pencil. Click on the icon, and a new left-sided panel will appear. There you can select the trigger that fits your need best.
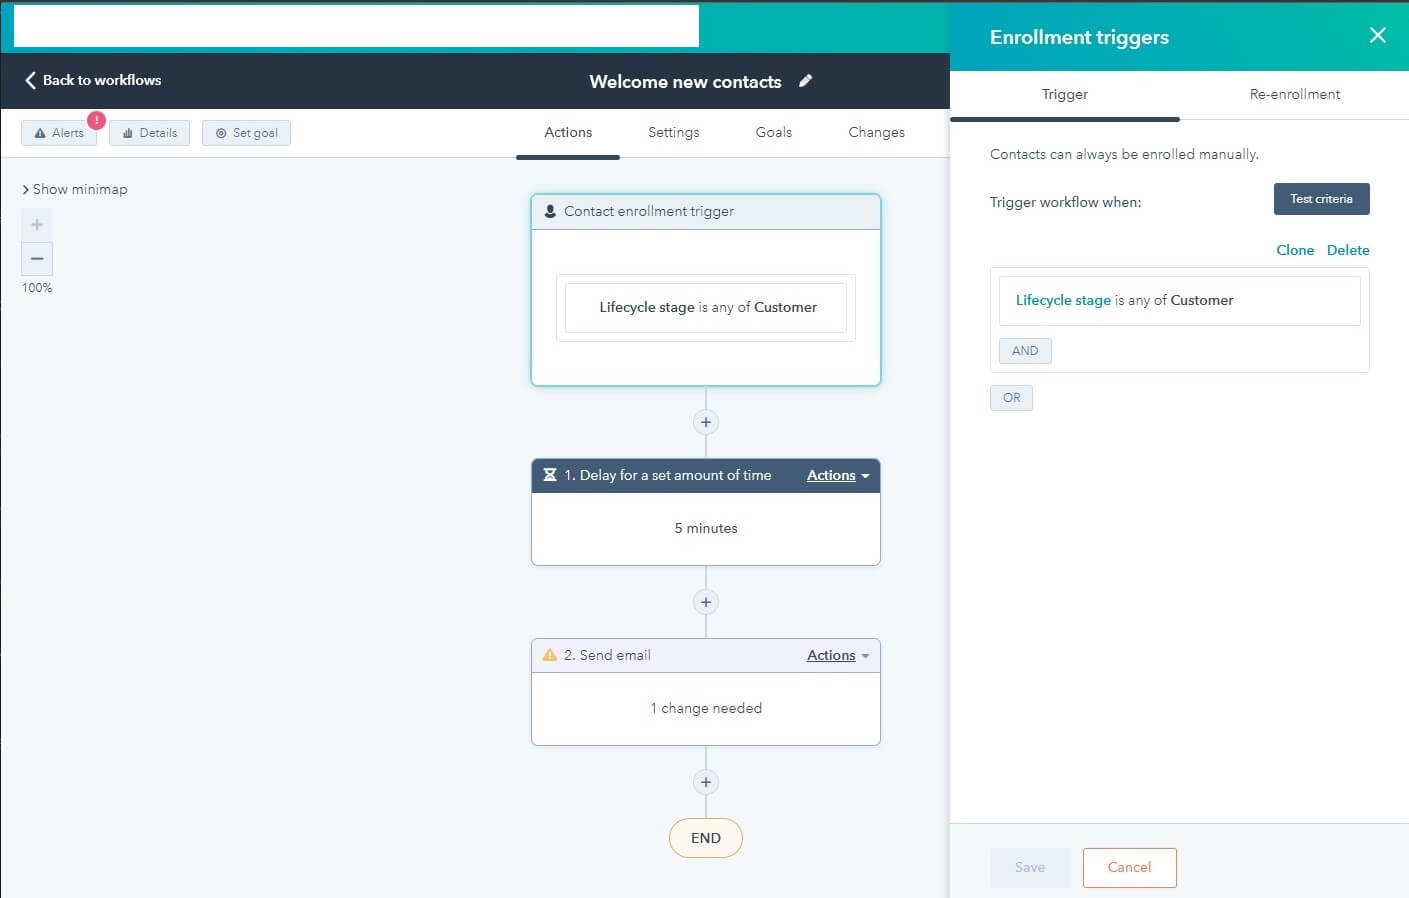
- After every change you make, always press the Save button to be sure that all your changes have been made.
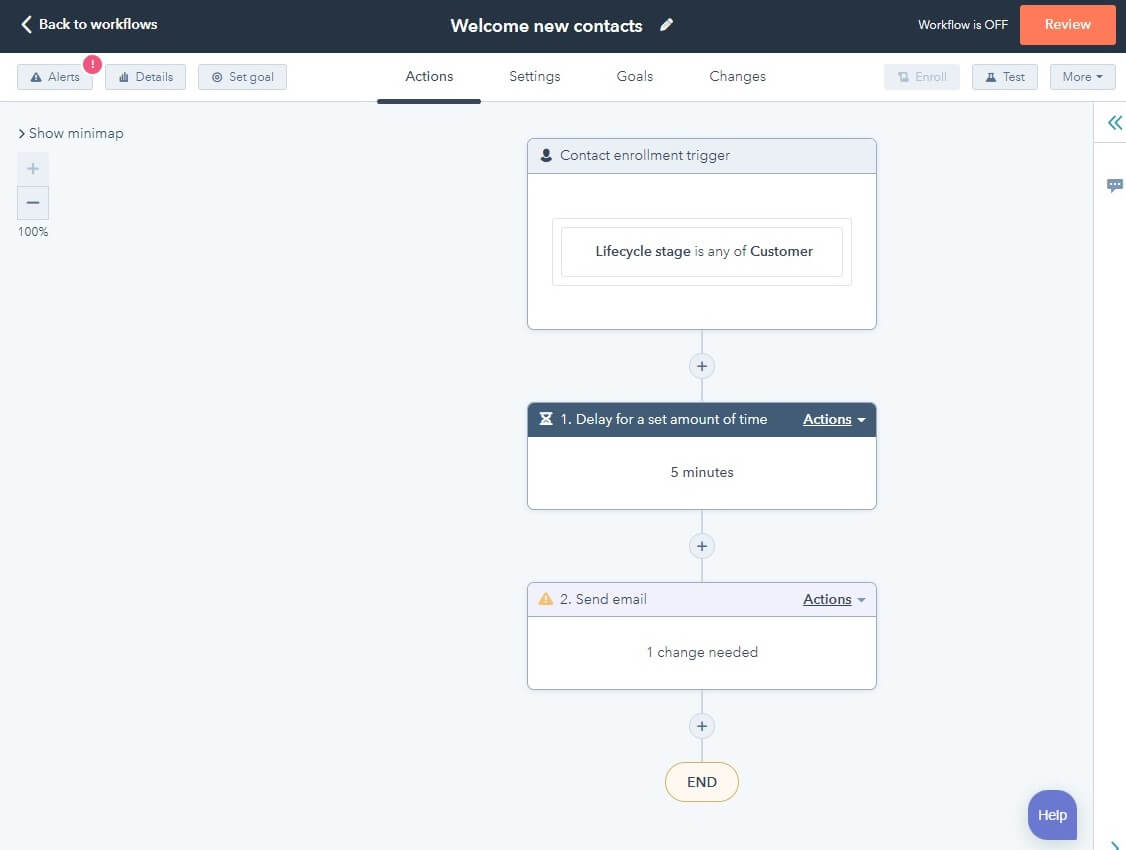
- You can also add more steps or delete some steps in your workflow if you consider that:
- Add by clicking the plus (“+”) icon on the straight line to the box below.
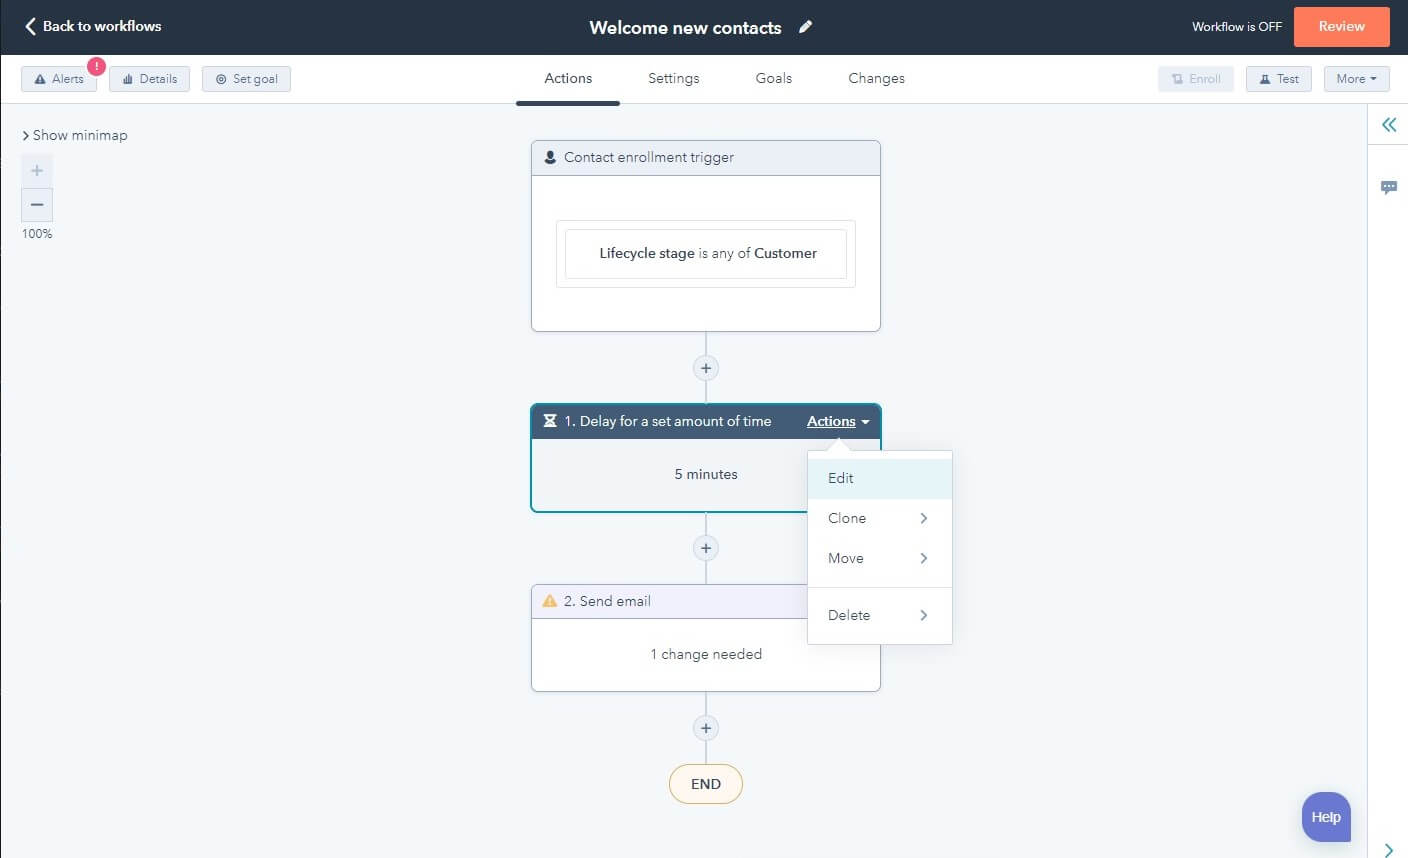
- Delete by clicking the Action option (on the left corner of the box you want to delete) and select the option Delete. Here you will have two options: This action or This action and all after it. Choose whatever fits you best.
- After you have set your workflow, you can test it by clicking the Test button, located in the upper left corner of the page. It will allow you to find and fix any bugs if it is the case.
Once you have set up the webhook URL, you will create one or more subscriptions. This way, you will receive notifications of those events you have selected. Subscriptions apply to all customers who have installed your integration. It means that you only need to specify what subscriptions you need once. Once you have turned on a subscription for an application, it will automatically start getting webhooks for all customers that have installed your application, and your integration will start receiving webhook triggers from any new customers.
You can create webhook subscriptions in your HubSpot developer account, by following the steps below:
- In your HubSpot developer account, navigate to theApps dashboard.
- Click the name of the app
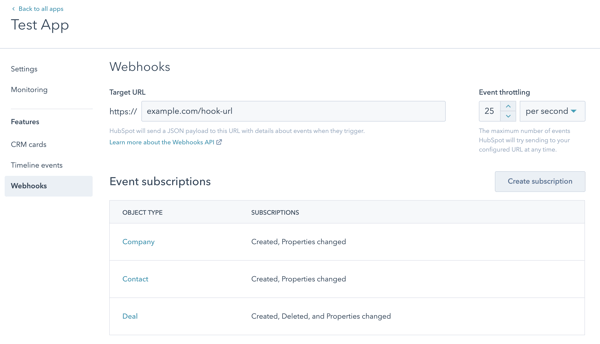
- In the left sidebar menu, navigate to Webhooks.
- Click Create subscription.
- In the right panel, click the Which object types? dropdown menu and select the objects for which you want to create a subscription.
- Click the Listen for which events dropdown menu and select the event types.
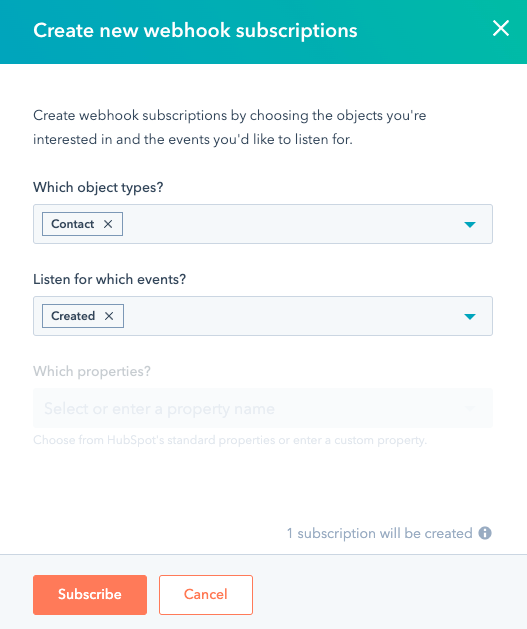
- If you are creating a subscription for property change events, click the Which properties? dropdown menu and select the properties to listen for.
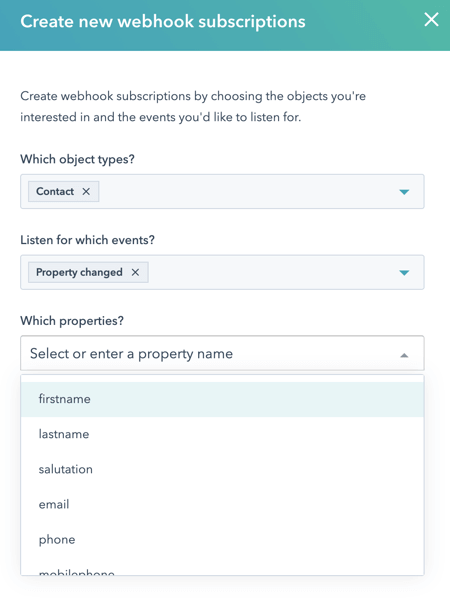
- Click Subscribe.
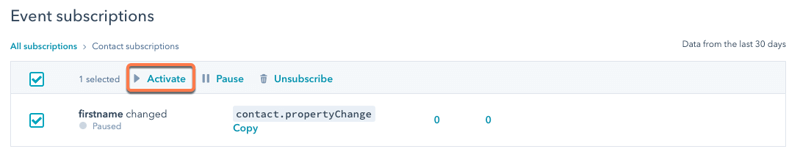
- The subscription will appear in your webhooks settings. New subscriptions are created in a paused state, so you will need to activate the subscription for webhooks to send:
- In the Event subscriptions section, hover over the object type and click View subscriptions.
- Select the checkbox next to the event, then in the table header, click Activate.
Make use of HubSpot and its’ options!


 – Google's Managed AI Recommendations Solution")
")